One of the fabulous new products unveiled at the L’Oréal Paris Nail Art Masterclass was Nails à Porter – their spin on stick-on (or false) nails.
click to enlarge

Nails à porter in Neo Couture

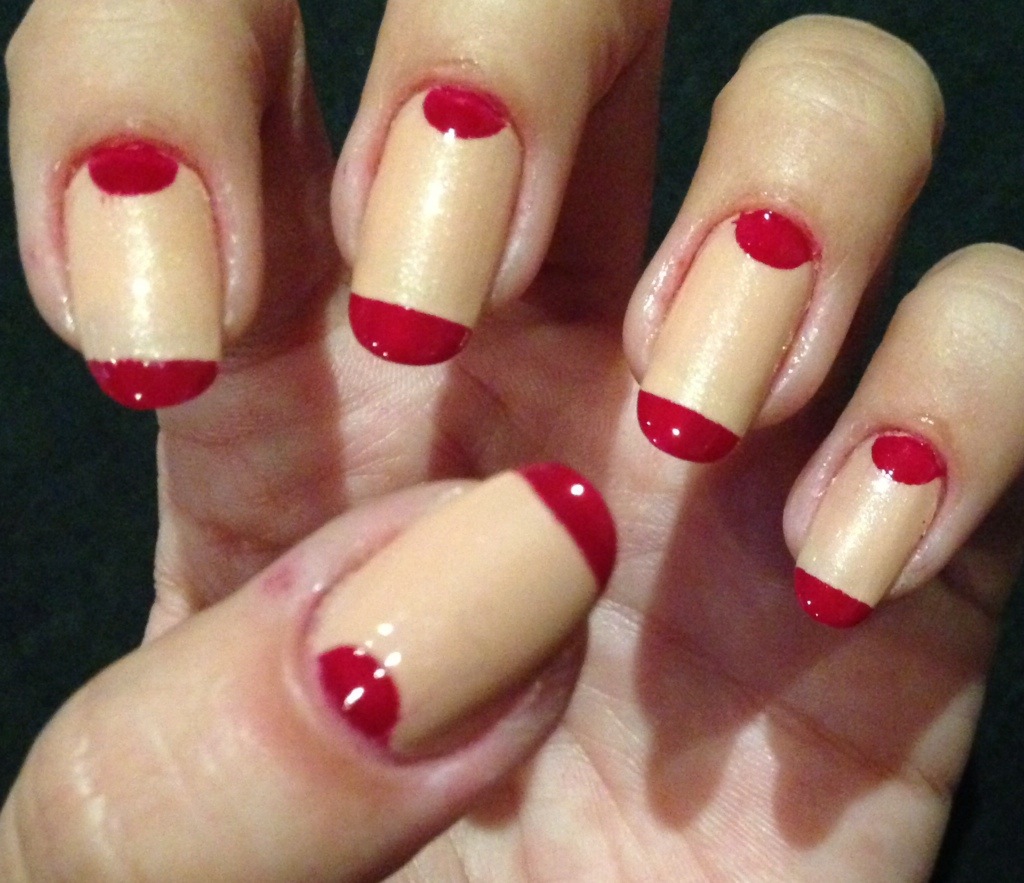
Nails à porter in Femme Fatale

Nails à porter in Drama Queen

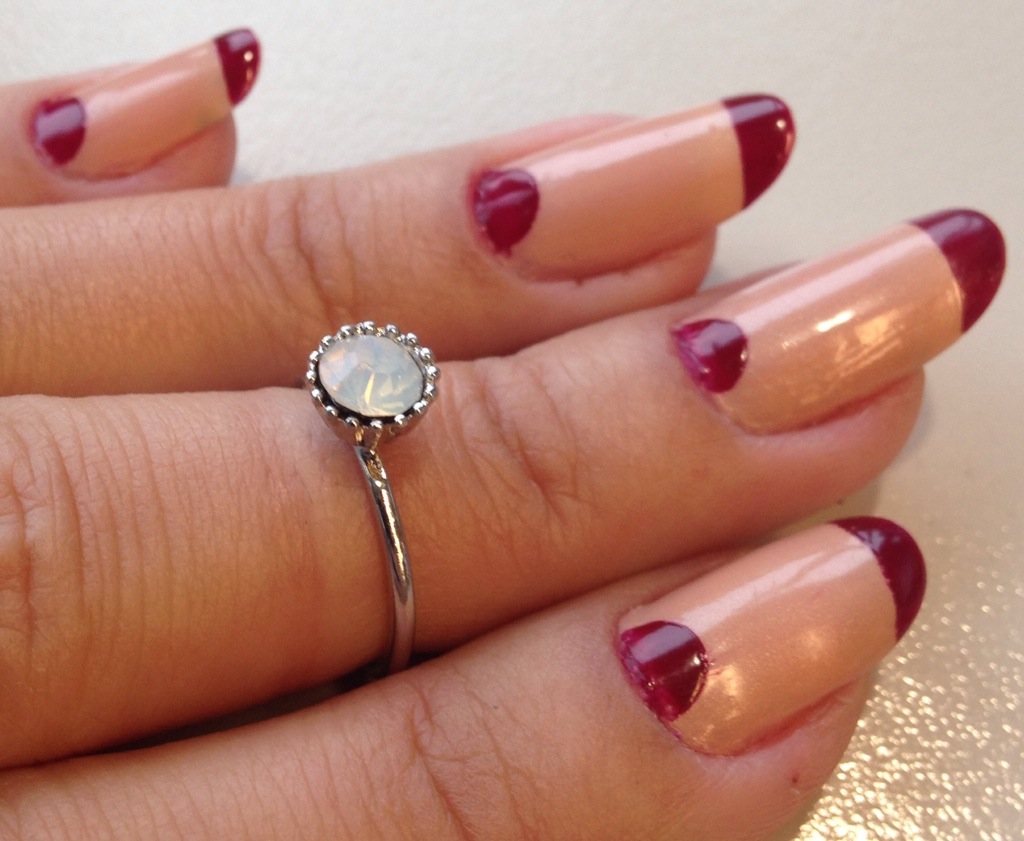
Nails à porter in French Touch

Nails à porter in Killer Nude
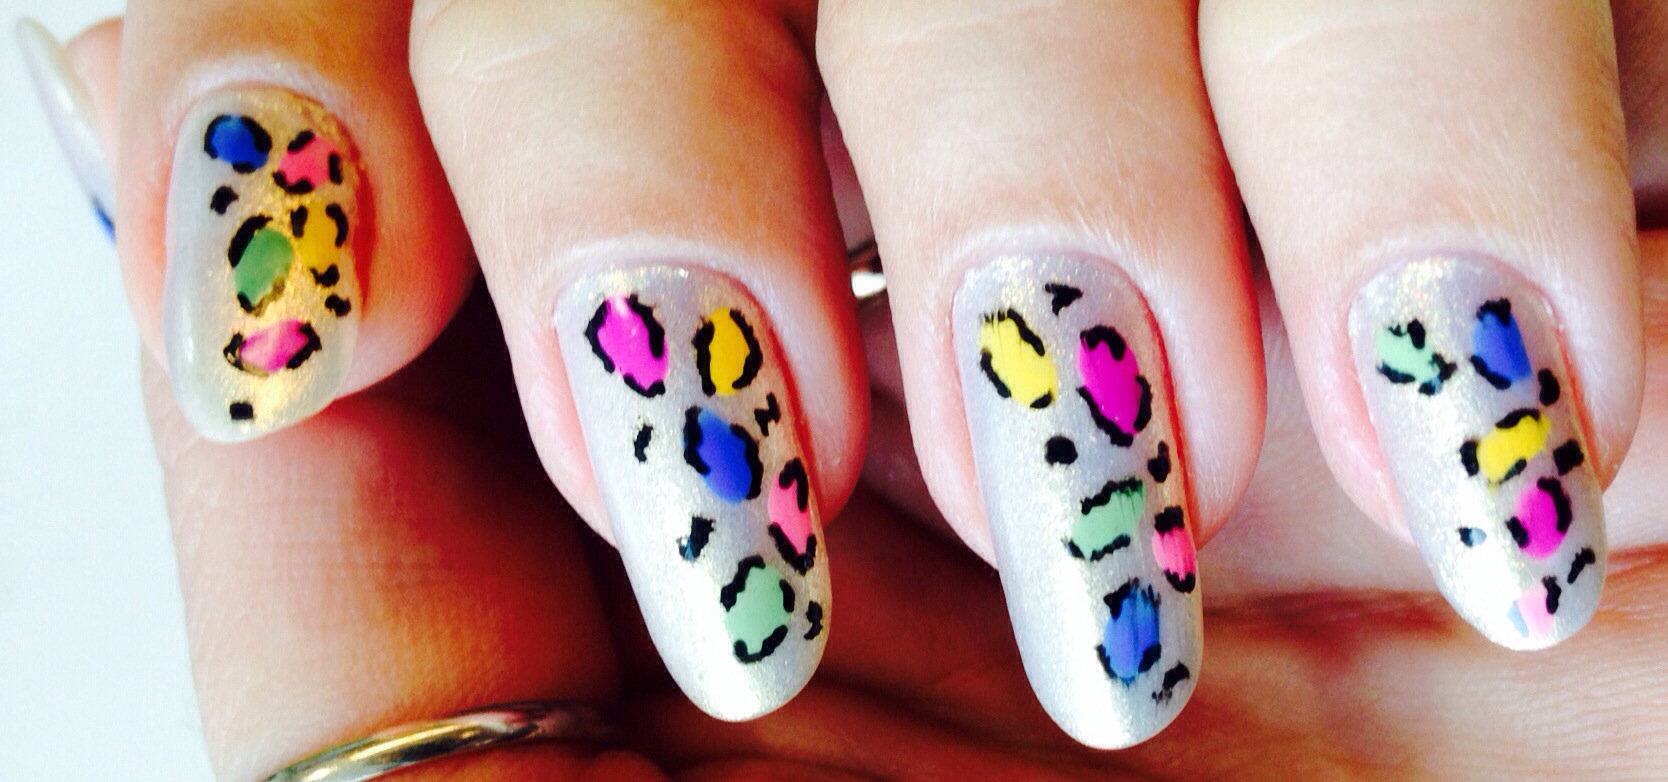
First of all, the designs are lush! They have classics such as red (Femme Fatale) and French manicure (French Touch), as well as some lovely designs: geo grey and minty green (Neo Couture), black and gold (Drama Queen – my fave!) and black an nude (Killer Nude), all very lovely.
You have twelve sizes to choose from, to match your nails shape. What I really love about them is that they are VERY flexible and feel quite natural!
click to enlarge
They come with sticky gel pads to be applied on the nail and a little file to smooth the edges.
Sadly, my natural nails are too long for them (and somehow, I am gutted!!!) so to try these beauties I have recruited two lovely volunteers from my office, designers Charlotte and Claire.
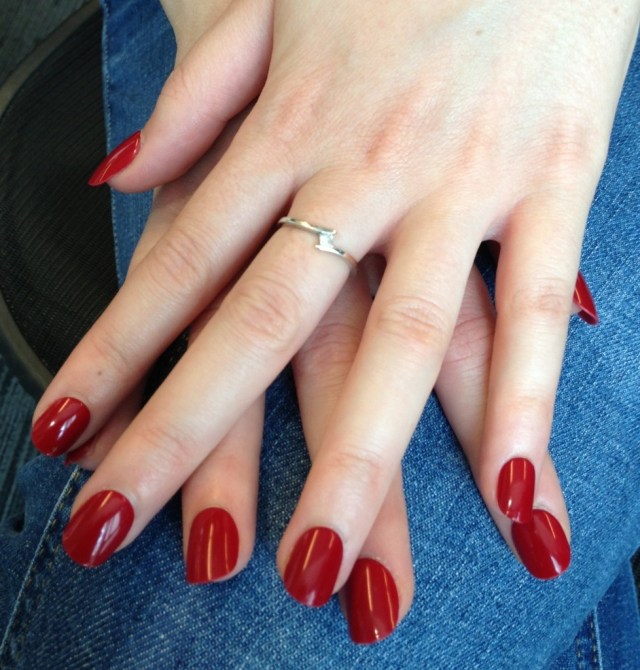
Charlotte unleashes the Femme Fatale
Charlotte had never applied or used any false nails before. I sent her off with the set and she applied them on a Saturday. She tells me she managed to do so quite easily – and she did a fantastic job, they looked great on her hands!
She had a birthday to attend and went wearing the red Femme Fatale Nails à Porter on her talons. She reported losing two on Sunday, but used remaining sticky pads from the pack to stick them back on.
She thought wearing them was a bit weird, and that she was very aware of them, feeling the need to be very careful all the time, which is natural for the first time you wear something false – I was like that with nails, lashes and hair! She liked the way they looked and removed them without problems after three days. She also mentioned some finger nails looked better – more natural shape-wise – than others.
Personally, I think they looked great in her hands, but it seems the false nails just bothered her, and I don’t think she will be wearing them again – this brand or any other!

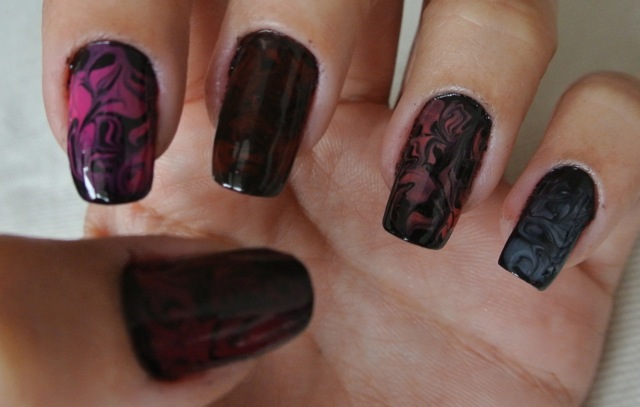
Claire goes funky with Neo Couture
Claire has used various brands of false nails before, usually resorting to them for special occasions. She used Neo Couture and says they were easy to apply – in a matter of minutes.
For this particular design, as there are different patterns, Claire didn’t manage to make her ring finger the accent, which she’d liked to, as no size match was possible.
She also mentioned the sticky pad appears to be stickier than other brands she has used; the nails themselves are fairly flexible and don’t appear to be a hard plastic. They file really nicely (this is a big issue for Claire, as she wears contact lenses and needs to file one index finger nail shorter than the others – with long nails she can’t get then out). She also added that the paint didn’t chip or flake when filed down, other brands have always disappointed at this stage as they have chipped or flaked after filing.
She did lose two nails, but in all fairness she put them through the ultimate testing – packing up boxes for moving house. She actually caught one nail in-between a draw and a rail and it marked the nail but after a few minutes the line it created lessened and you could hardly see it!
She buffed the natural nails where she had the two losses then stuck the pad on to see if this made a difference, re-applying the lost nails. Claire tells me she has naturally oily nails and glued or stick-on nails never last the lengthy the box says.
She noticed that after 3 days of wear they started to wear a little on the paint, but they don’t appear to have chipped at all but have worn a little. Removal was very easy and clean; nails feel fine afterwards.
At the end of her trial, she tells me she would definitely buy Nails à Porter to wear for a dinner and dance party or wedding types of occasion. She actually took French Touch from my hands too!
I think I am sold. Next nail chop, I will be all over Drama Queen.
Nails à Porter is available from retailers nationwide from September and the RRP is £7.99.
You will also be able to get more info at the L’oréal Paris website when the product launches!