How exciting to receive a big box at home only to open it and find four lovely shades of nail polish and a lovely balloon, delivering a true colour pop to my day!
The L’Oréal Neon Pop collection for the Summer 2013 is a fusion of Tropicana brights with arty colour block palette – and bright they are, even though they are not your conventional neon colours; they really pop when applied!!!
(more pictures at the bottom of post!)
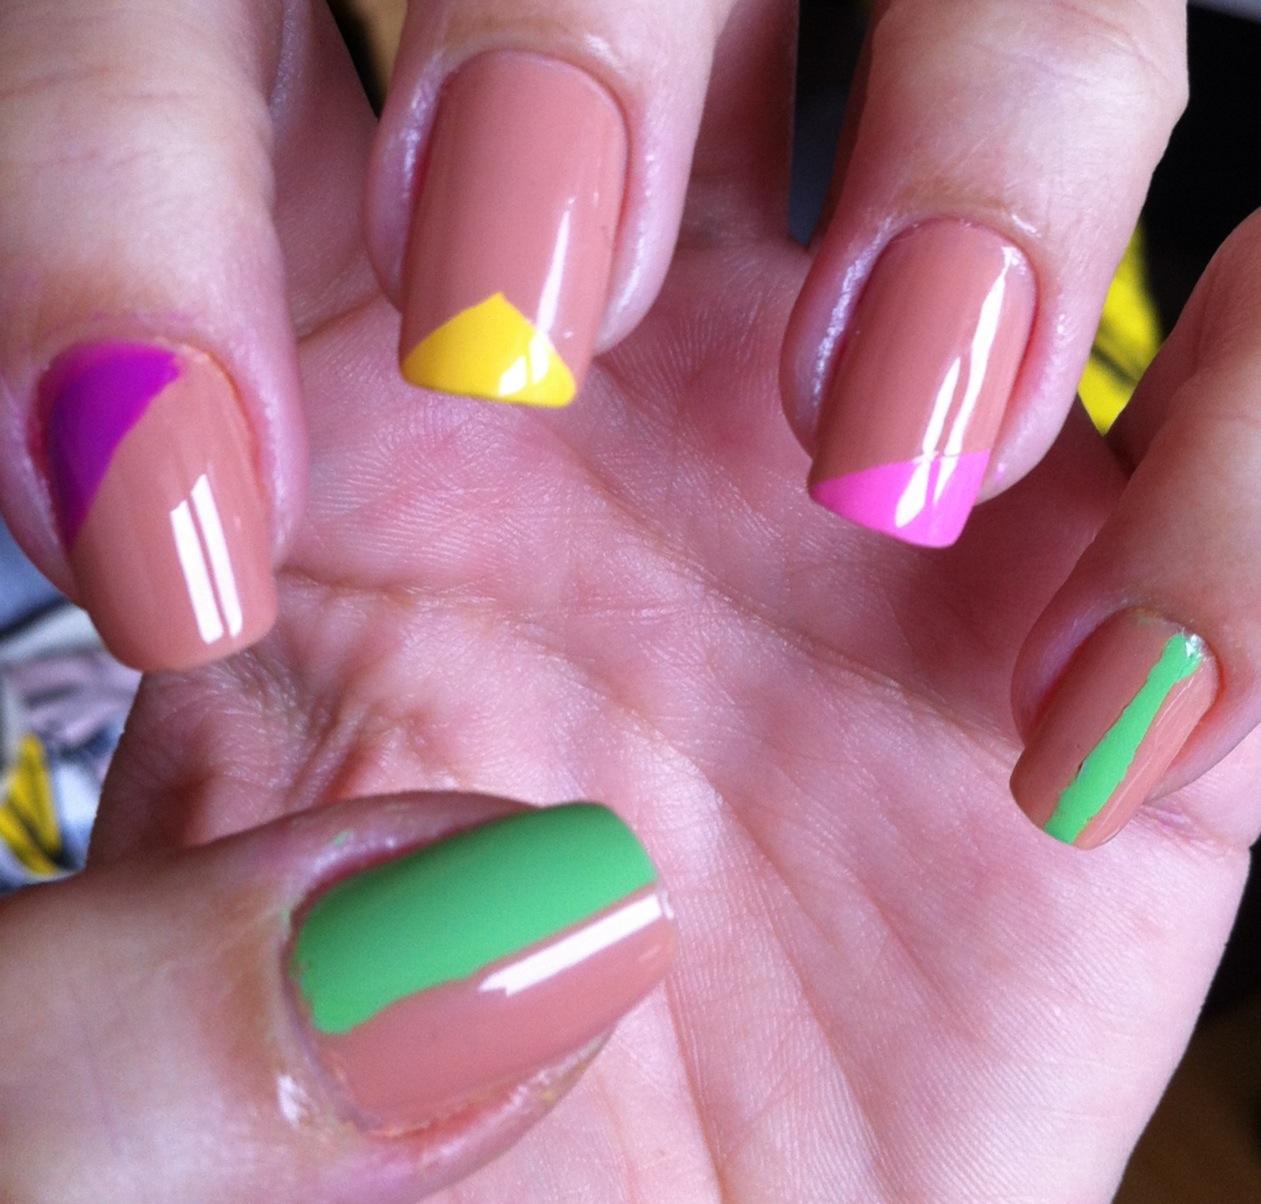
The colours here are a purple, called Flashing Lilac, yellow Banana Pop, pink Acid Watermelon and green Wasabi Hint.
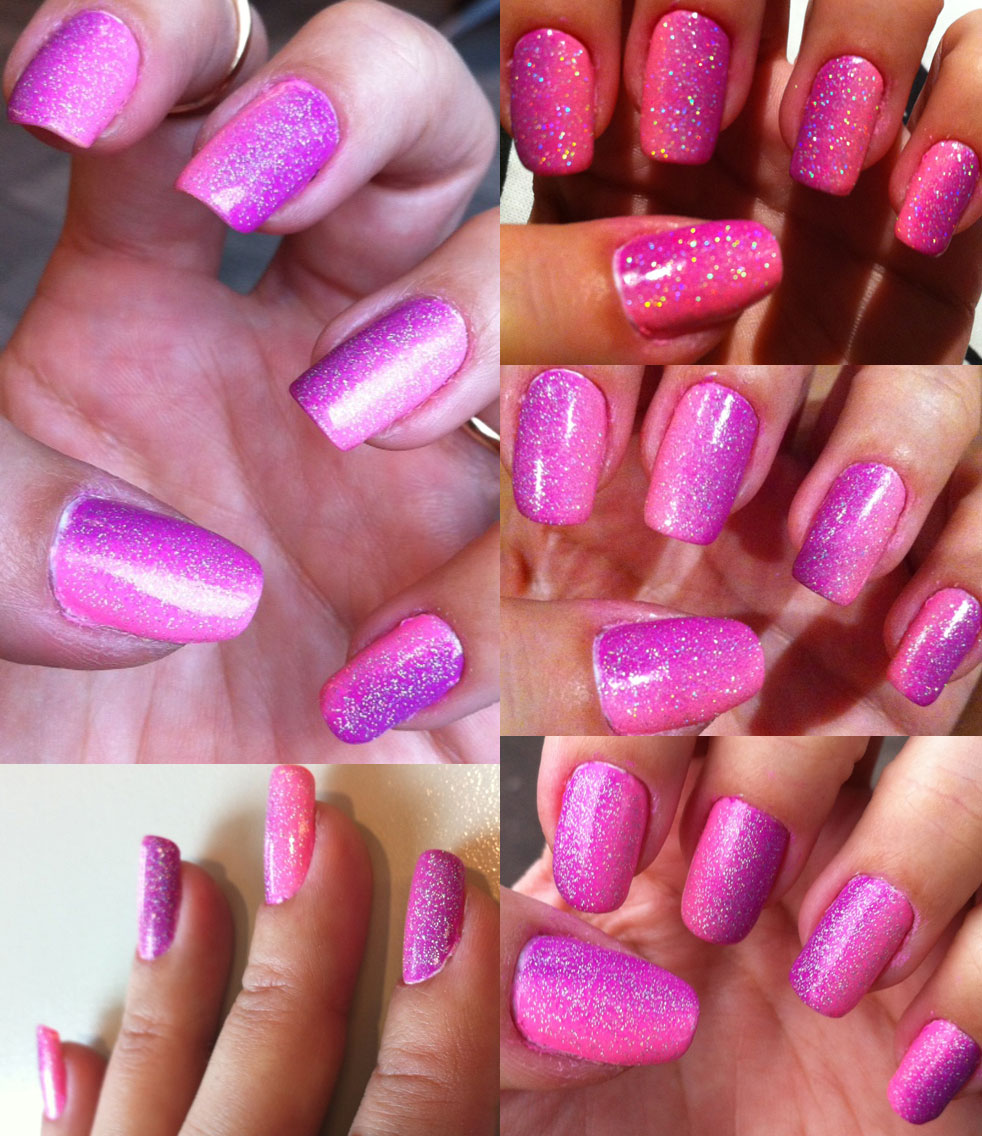
As seen above, from left to right, first is Flashing Lilac, which I found the sheerest of them all, definitely needs two coats, but delivers a lovely finish, almost gelish.
Banana Pop is very pigmented but sometimes you can see the brush strokes, you must apply carefully and they will go away! It is really the colour of a very ripe banana skin!
Acid Watermelon is probably the closest to a true neon colour and also very pigmented, one coat is almost enough for solid coverage.
Finally, Wasabi Hint I think is my fave, very pigmented and a very peculiar shade of green with great shiny finish.
I find the colours are very wearable, even for those who steer away from anything neon. I like the brush and drying time was standard. I did the swatches and also played around with the colours a little bit, as couldn’t help myself – they are so pretty!!!
I will be posting my look using the colours on a mani next week! Exciting!
They will be available to purchase this month!

The mystery box

And the polishes on the inside of the lid!

The colours codes

The pretty ballon!

Colour matching!

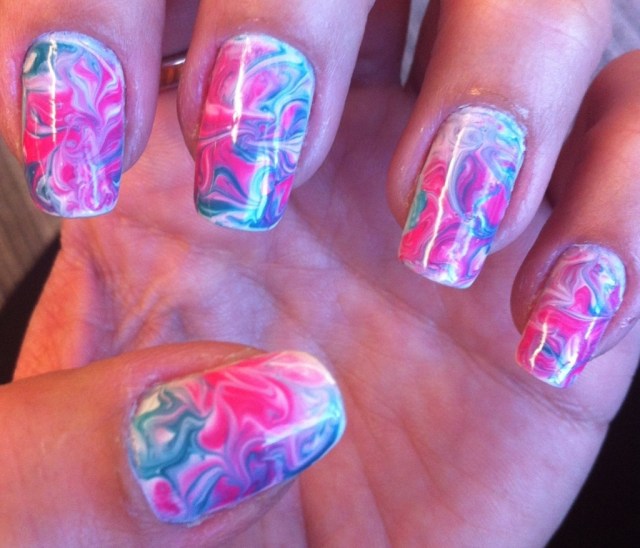
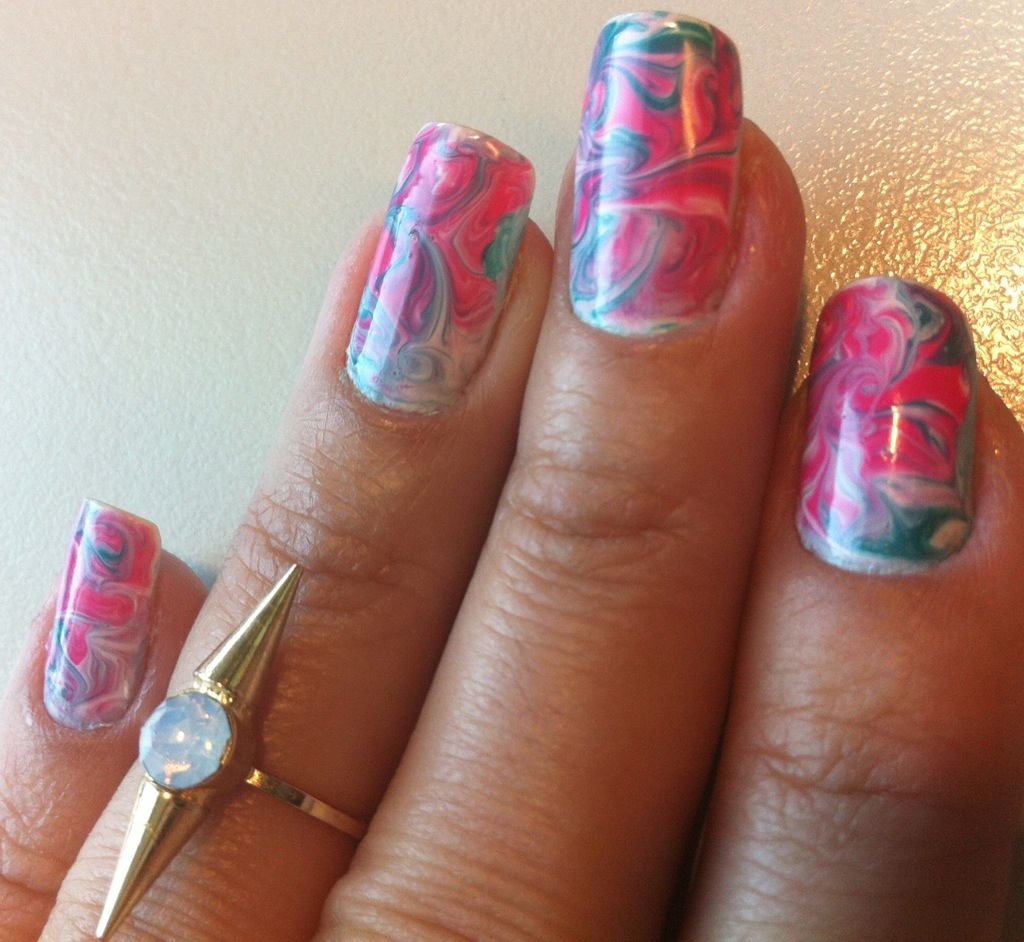
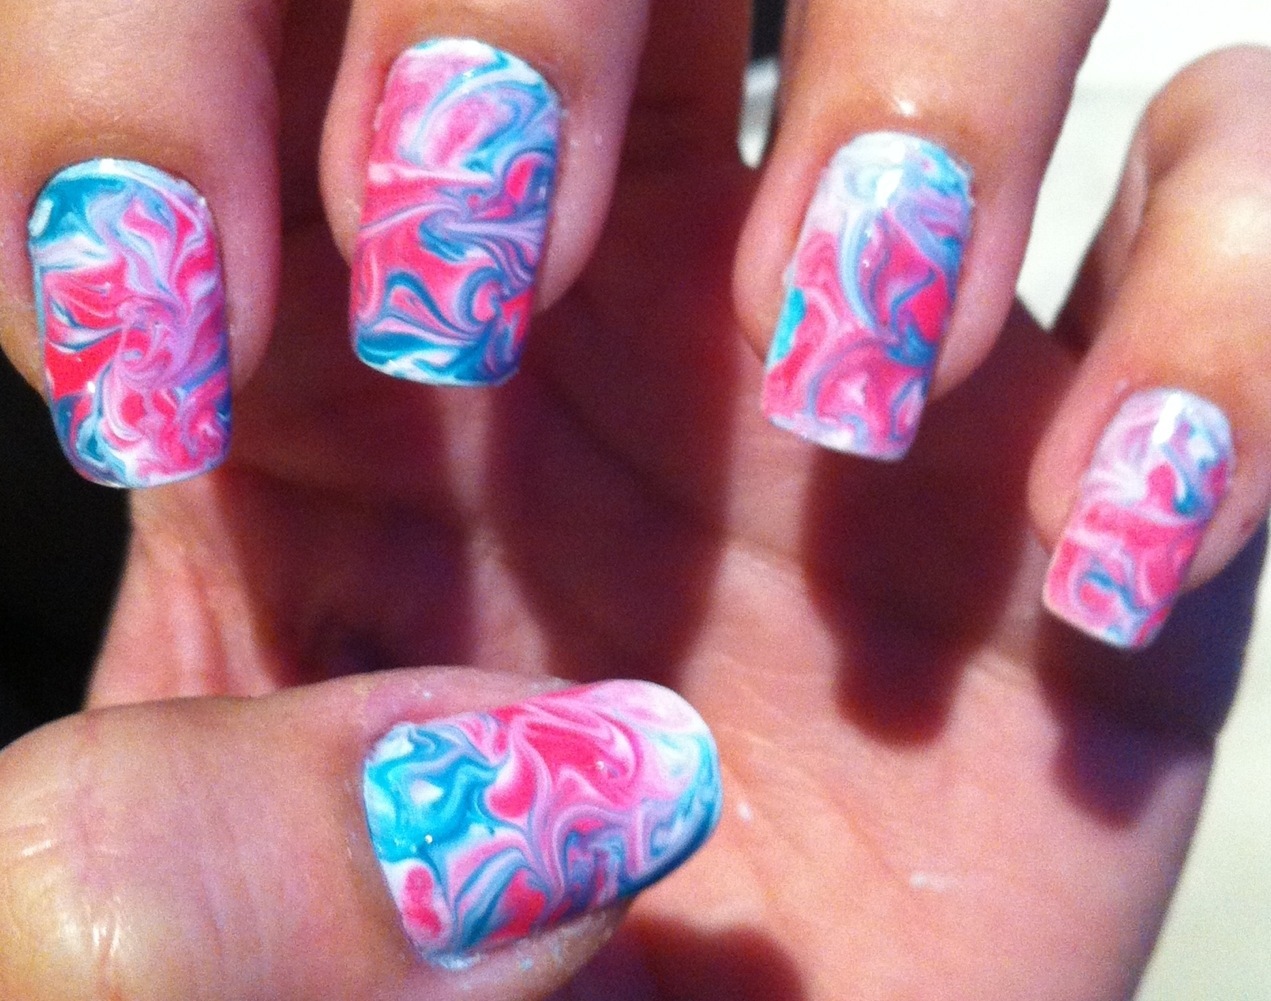
Swatch

Playing with it a bit – quite sloppy but hey, just a test!
And yeah, if you are wondering, the pretty balloon is from Bubblegum ballons! Soooo adorable, it is looking lovely in my sitting room!
This post contains PR samples. This review, however, is based on my own true experience with the products and reflects my honest opinion on them.