
Yes, there is a new gradient on the blog! But this time is a different one as I am using Models Own Colour Chrome nail polishes.

Yes, there is a new gradient on the blog! But this time is a different one as I am using Models Own Colour Chrome nail polishes.

Promise I won’t proclaim my love for gradients again (ooops). I had an American All Stars themed party, and as usual, I get over excited about themed parties, so went all out.

Yes, I am floating around in Christmas spirit (better late than never, no?).
I am not usually a fan of little animals, flowers and drawings in general on my nails but what the hell? It is Christmas after all. So here they are – my super festive Christmas nails!
It has red, gold and a reindeer! Yes, Rudolph is my special guest!
For the red and gold gradient I used the sponging technique with the beautiful The Spy who Loved Me and Golden Eye, both from OPI’s James Bond collection. It was quite a hard gradient to put together, as the gold is not quite glitter – it is like a foiled effect, so a few layers were needed!

I drew the reindeer’s head with the polish brush. I used a deep metallic brown which is the darkest colour from Andrea Fulerton’s duo polish Petrol in Water. Then added the eyes using a dotting tool and Collection Nail Tip Whitener white polish. Used The Spy Who Loved Me red for the nose (with a larger dotting tool) and Barry M’s nail art pen in black for the antlers and black dot in the eye.
I then finished them all with a top coat!
Must admit I like it more than I thought I’d ever like a drawing on my nails – very happy with the result!
How festive!
Happy Christmas to all! 


It is no news I love a gradient on my talons, so this week I went a bit further – a four colour rainbow gradient.
The last one I did was a long time ago, and this was due. After seeing a rainbow gradient on some Brazilian nail polish Facebook page, I decided that was going to be the next one.

The technique is the very same I used before: sponging, and I found it a bit more challenging with four colours to make sure all nails had about the same amount of each and that the transition was smooth. But it happened in the end!

I used Colorama’s 40 Graus (red), L’Oréal Banana Pop (yellow), Kiko 385 (blue) and 343 (green), applied a stripe of each to a wet make-up sponge and stamped to previously painted white nails. I went round three times! I then added the magical Electric lane holographic topcoat from Nails Inc and a clear topcoat(Seche VIte) to seal it all.

To be honest, before I did it, I thought it was going to be a bit too much. It turns out I love it and don’t want to take it off. At all. Seven days have gone by and it still looks perfect and I am struggling with the idea of removing it and moving on to the next mani…


You may say “another gradient”? First, yes. I love them. Second, this one is a bit different; instead of doing it horizontally, I decided to do it vertically. Oh, yeah, the subtleties of life.
The technique was the same used before – sponging – and somehow I found this a bit trickier; getting the blending in the middle of the nail is quite hard! I really want to do a rainbow gradient, with different colours on all nails, and this was just a taster of how hard it will be…
I painted all my nails white (and for the first time, due to lack of time, had them like that for 24 hours – how 90’s, even though pure white nails is making a come back, it still takes me back to my teenage years!) then applied L’Oréal Color Riche Neon Pop nail polishes in Flashing Lilac and Acid Watermelon (pink).
Then I applied my all time favourite sparkling topcoat Electric Lane from Nails Inc and voilá!
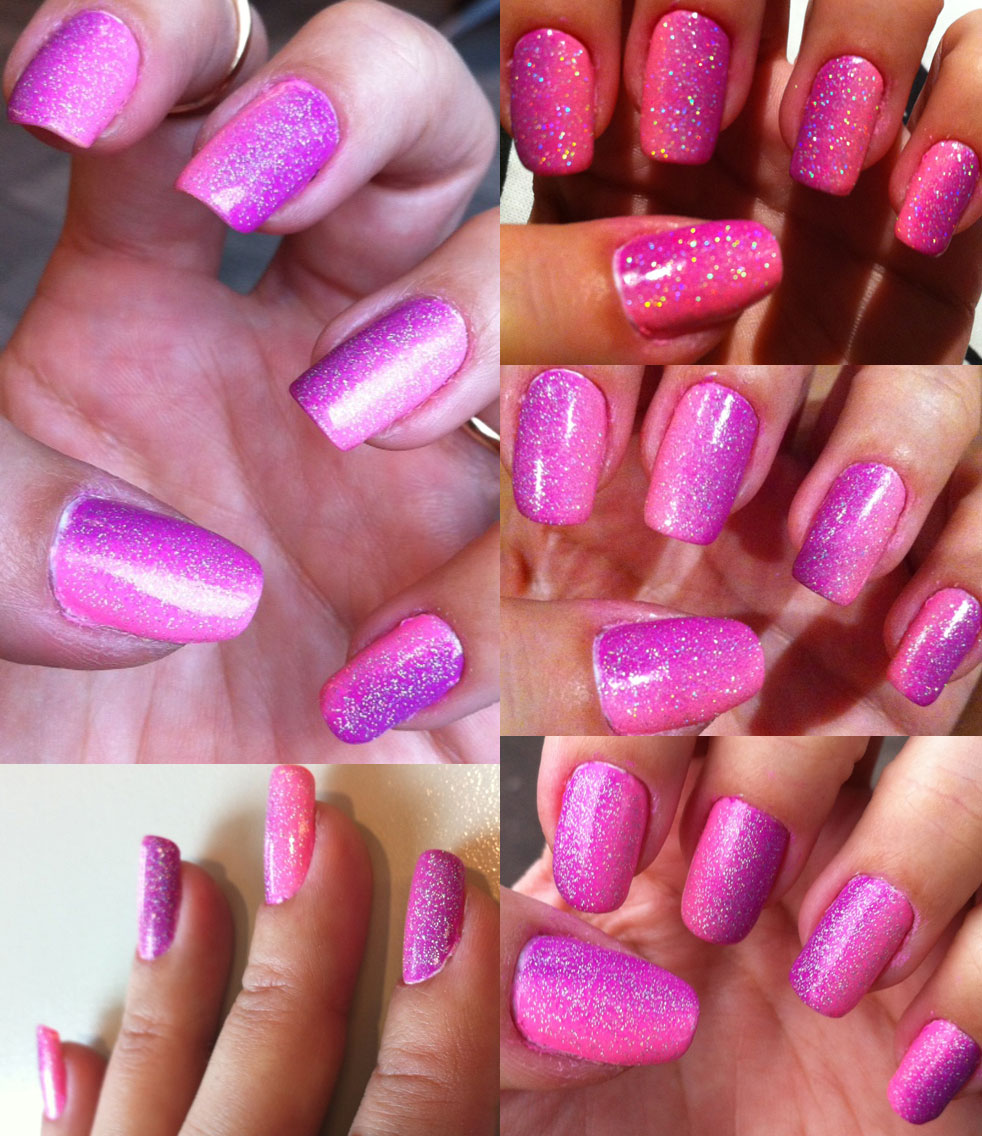
Application was alright, both colours are pigmented enough not to make sponging a nightmare. My gradients usually last an awful long time, this one is 8 days and counting – just don’t want to remove it!
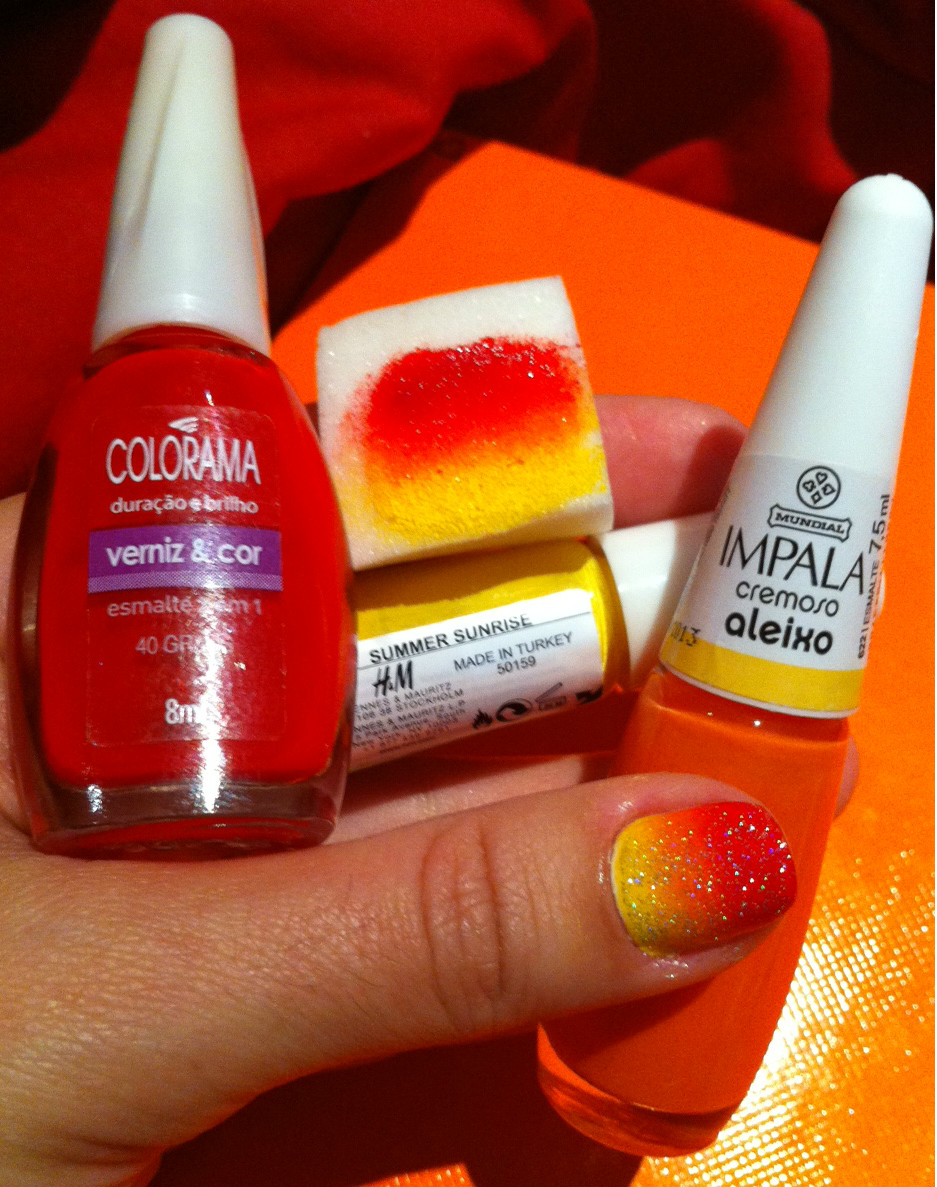
Yes, I am still obsessed by gradients. I just love them. So, I gave myself another one: a lovely yellow, orange and red, to go with my tropical mood, as I am on holidays in Brazil (hence the lack of posts).

I used the H&M bright yellow summer sunrise, Impala’s orange aleixo and one of my fave reds ever, Colorama’s 40 graus. I used the sponging technique and applied the gorgeous Nails Inc electric lane topcoat. Ended up with a good seven layers and a lovely heart nail tattoo on my ring finger, from SkinArt UK to finish off the design!
It lasted very well – eight days including pool days!
This mani lifted my spirits, it is cheerful and looks forward to the summer!
 Oh, how I love a good gradient. Relatively simple to do (it just requires a bit of patience!), gradients deliver great “value for money”. It is pretty, different and can be done with the cheapest, plainer nail polishes around. Love it.
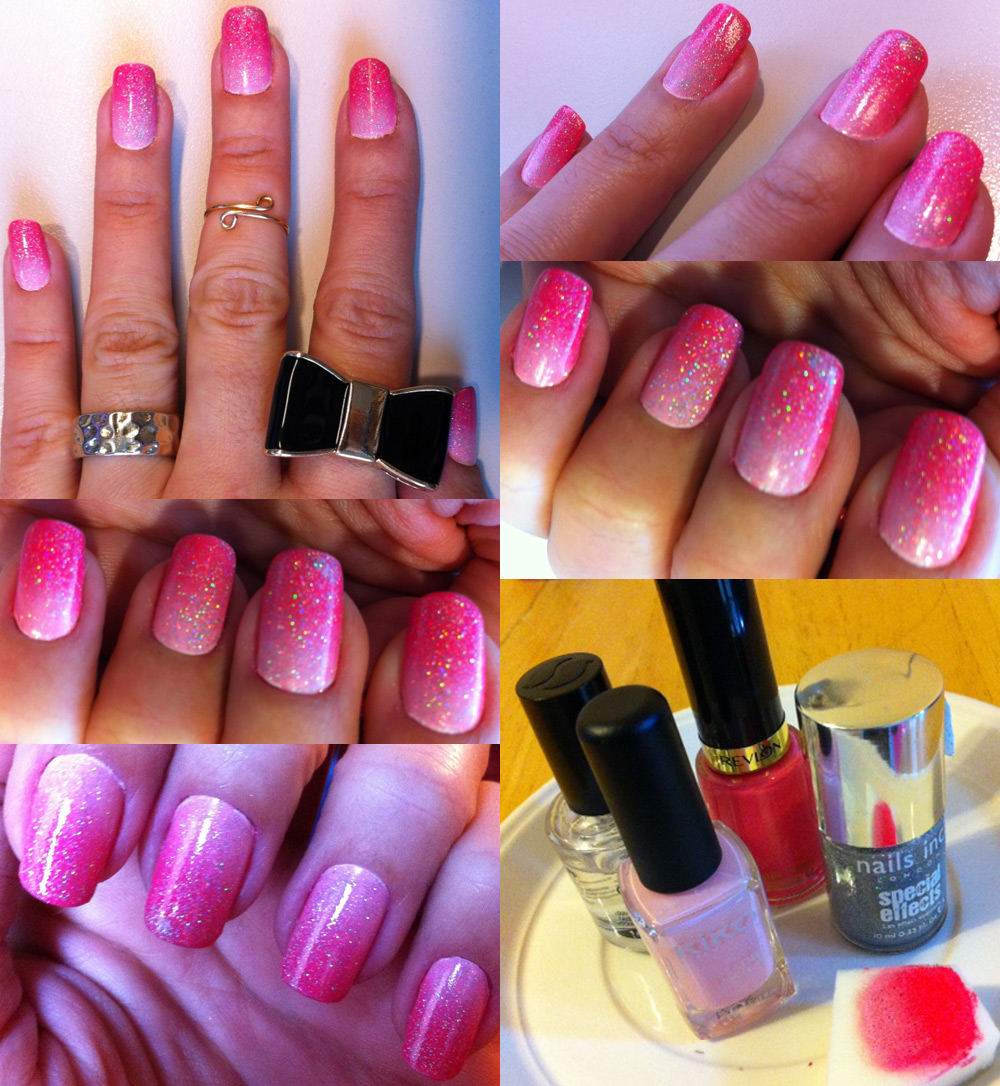
I am totally in love with this weeks mani – it is girly and sparkly, totally gorgeous (even if I say so myself!)
I used a light pink from Kiko, number 376 candy pink, and a dark pink from Revlon, sweet tart. As usual for my gradient, I painted all nails plain white (Natural Collection nail tip whitener) and sponged the pinks after it was dry.
To finish it off, I applied one coat of the super gorgeous electric lane from Nails Inc, which gave it sparkles and an extra dimension with its holographic goodness.
Application was a bit long. I did the white base, let it dry for most of the day and sponged in the afternoon on a Sunday, it took three rounds of sponging. All together, counting base coats and top coats, I have eight (yes, you read it right!) EIGHT coats of nail polish on! However, durability is ace: I’m on the 8th day, no chips! What annoyed me this time is that there was an awful lot of excess polish under my nails and that was a pain to remove… Having said that, it was well worth it!
You will certainly see more gradients coming soon… watch this space!
 Since I tried my first gradient a few weeks back, I’ve been dying to try another one, but this time with three colours.
I picked purples. I love purple on my nails! I chose a lilac from Nails Inc, Cambridge, a light purple from H&M, Pale Violet and a dark purple, also from Nails Inc, Belgrave Place.
First I painted my nails white using Natural Collection’s nail tip whitener. I then got my sponge and painted three lines on it, from lighter to darker and stamped the nails. I described the technique in more details on my previous post on gradient.
This took four rounds of stamping, more than my first one, to look good! But I am very pleased with the results. Again, after applying the topcoat there was a bit of shrinking, so I can see a tiny bit of the white, that bothers me a little bit!!!
Overall, loving it – caught the eyes of lots of people, even on the train, where I then explained the technique! Nice!

 My experimental mood is not over yet, and more than ever, I want to stay away from things I have done before…
So this week I decided to, for the first time, to try a gradient manicure. I went for blue and green – from Kiko in Electric blue and from ColorClub’s Blossoming collection, respectively.
I started by painting all my nails white, as a base, I used Natural Collection’s Nail tip whitener.
After it was dry, I cut a make up sponge and wet it a bit, to make absorb less of the polish. So I applied the green and the blue on the sponge and applied to my nails, as if stamping it, from tone side to the other. I then repeated the process, this time “stamping” more than once, and slightly changing the position of the sponge colours dividing line each time, to make the blending better.
Then I applied a glittery Specialittá Hits Blue Jazz at the tip and a topcoat to finish it off.
It looks great, but not perfect, which bugs me a little bit. I know it is only the first time… but… I’d like it to be flawless. The problems I found were that it was hard to fill the edges. There also was a bit of shrinking and in a couple nails I can see some of the white near my cuticles. The blue “leaked” over my nail so I had to remove it from the inside… a bit of a pain!
Apart from that, I love it. It wasn’t as hard as I thought it would be and I got better effect better than I thought I would for the first time. So I will definitely be trying again!!!
 If it was perfect, in terms of finish, it would be a 5-star mani. Next time….
