If you know me  a little bit, you will probably know about my history with acne, and how it affected my life (and still does), as not long ago, I decided to talk about the fight with my acneic skin.
After being through it all, even when I am spot free (quite rare lately!), the scars are a constant reminder of how terrible it was, and no amount of make -up can conceal the feeling it brings me every time I take real notice of them. I kinda got used to them and learnt to ignore them most of the times, but some days is hard and I am more sensitive to the issue.
Even though I will end up doing laser re-surfacing at some point, I am always willing to explore less dramatic (and costly) ways of improving a bit, even though I know laser is the only way they will almost vanish.
I was thrilled to be contacted by ZenMed, an American company which creates all sorts of solutions for problematic skin – acne, eczema, rosacea and of course, scarring – to try one of their lines on my skin.
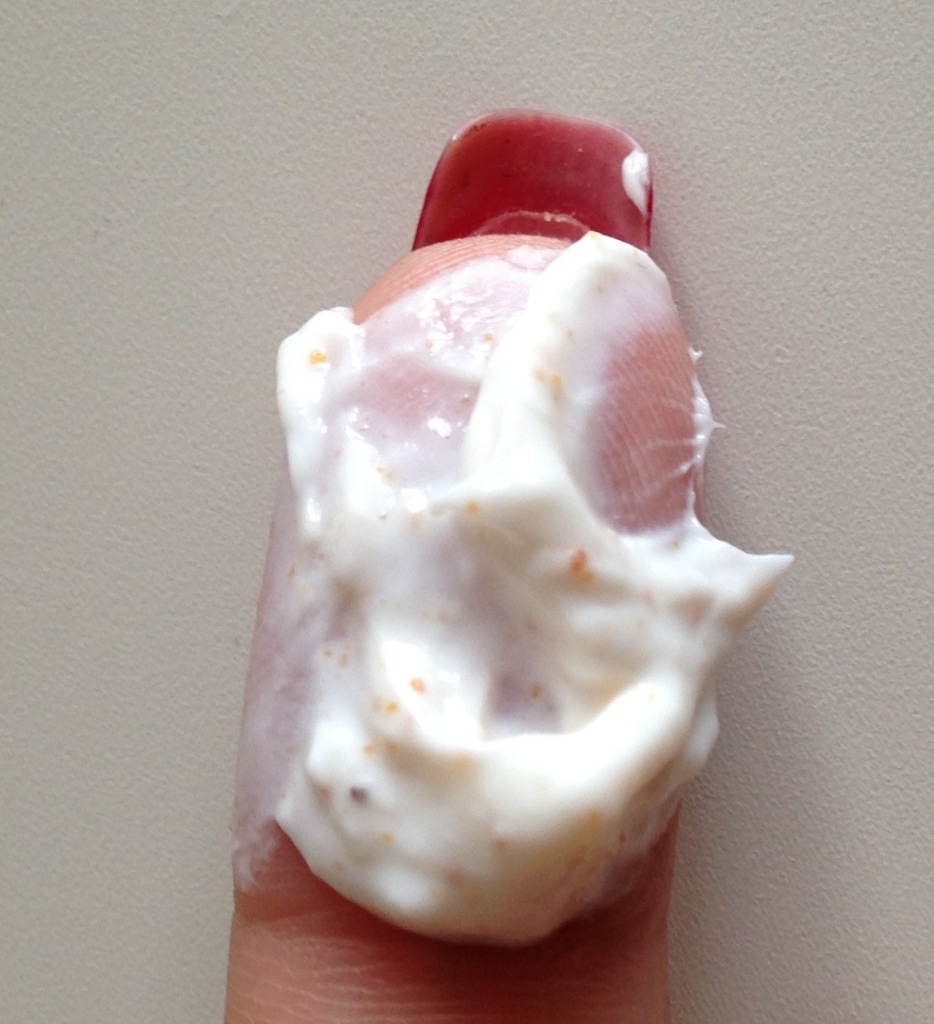
The Skin Eraser kit reached me and I could not wait to try it. It consists of an exfoliating product, the Renewing Microdermabrasion Complex (which contains Purified Water, Montmorillonite, Ground Walnut Shells, Zinc Oxide, Glycerin, Extracts of Chamomile, Sea Kelp, Sage, Coltsfoot, Yarrow, Balm Mint, Rosemary, Althea, Wild Thyme and Horsetail, Vitamin B5, C and E, Allantoin, Algin, Glyceryl Stearate, Phenoxyethanol and Ethyl Hexyl Glycerin) and a serum, the Skin Eraser (which contains Purified Water, Ascorbic Acid, Glycerin, Glycolic Acid, Sclerotium Gum, Lactic Acid, Allantoin, Sodium PCA, Panthenol, Sodium Alginate, Phenoxyethanol and Ethyl Hexyl Glycerin).
To start with, what I liked about the company is that they are very attentive. After shipping was confirmed, I received emails with detailed instructions on how to best use the products. I also had a couple questions which were answered quickly and efficiently by the 24-hour helpline chat on their website.

Basically, you scrub then apply the serum. No secret. First, you need to use the products on an adaptation phase; in one week, use it a couple of times and leave the serum for a minute maximum. After that, use it for five days in a row, leaving the serum on overnight. Then, you should have a five-day break so the skin can regenerate. The “course” or “cycle” should then be re-started – five days on, five off. This review is based on three courses, so 30 days.
The scrub is on the right side of tough – you should lightly scrub each small area of the face (or other treated area) for 15-20 seconds, then move on to another. Then I apply a thin layer of serum – three pumps is enough to cover the face. If you had any acid peels before, you will be familiar with the colour and texture of the serum.
And there is no redness, no itchness, no dryness and flaking, which are usually present in these treatments. I was very impressed! I did feel some tingling on areas I had blemishes and the skin is certainly more sensitive at the end of the 5 day-course, but nothing uncomfortable or visible.
By the end of the second “cycle”, I started to draw my first conclusions on the treatment. I saw someone in the office who I hadn’t seen in a while and she commented on my skin. I NEVER get comments about my skin looking good. She asked if I had changed my make up, as my face looked smoother and brighter. I was happy.
That prompted me to get pictures taken, a day before I was due to. And what a surprise! Skin looked so much calmer, less redness in scars. Some of the scars actually seemed smoother and my face looked brighter. The biggest improvement I noticed was on pigmentation – those dark marks left behind after a spot goes were practically gone, all over, even old ones – some take months to go naturally!
After finishing the third course, on which I experienced a little bit more improvement. One thing is sure: for my skin, it seemed to work. Of course, I wasn’t expecting to have baby bottom, supermodel airbrushed skin restored to my scarred face, but I still had a lot of expectations: I was looking for something that would improve the aspect and texture of my skin, make the scars less visible (easier to conceal with make-up), bring a bit of brightness and smoothness to my face, make make-up sit better and at times reduce the amount of make-up needed. And I got that to a degree, and that’s why I am continuing the treatment! I have plenty to keep going for quite a while.
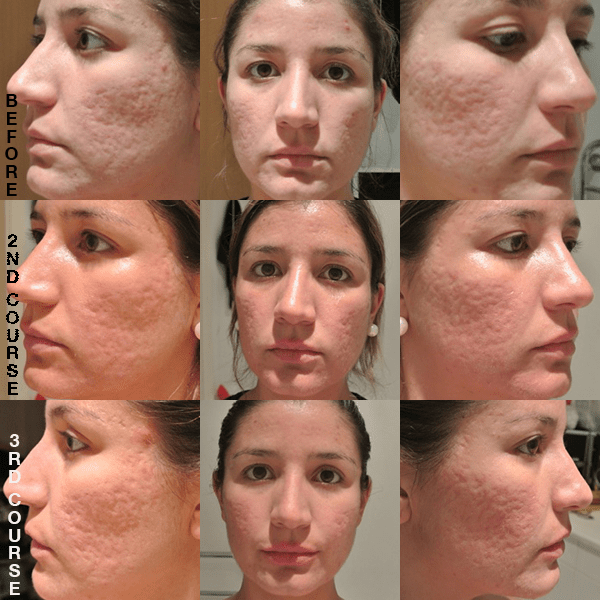
The pictures don’t quite capture it; I am quite impressed with the results, but it is always worth bearing in mind that they happened subtly and progressively. I am definitely keeping the treatment going, and it’s very likely I will order another kit. I am not blemish free, and been trying new things to stop them appearing; it is a constant battle.
For £45 a pop, this is a great buy. This is a very small investment on a product that has given me some improvement on the most sensitive issue I have, and that is something.
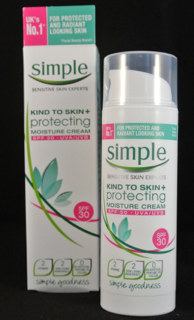
Worth mentioning I also got the Oil-free Day Lotion and really liked this moisturiser. It has no fragrance, it is very light, absorbs really well, sits great under make-up and has a really soothing effect. It is a shame it hasn’t got an SPF!
ZenMed is also a cruelty free company, all their products are made in the USA, with 100% recyclable packaging (they don’t use boxes, as I mentioned before, and their packaging is fuss free, clean and effective, which I like).
You can get hold of the ZenMed Skin Eraser kit and the Oil-free Day Lotion on the ZenMed website – they also have an extensive range of medical cosmetics to treat active acne, rosacea and eczema. Very worth considering.
This post contains PR samples. This review, however, is based on my own true experience with the products and reflects my honest opinion on them.

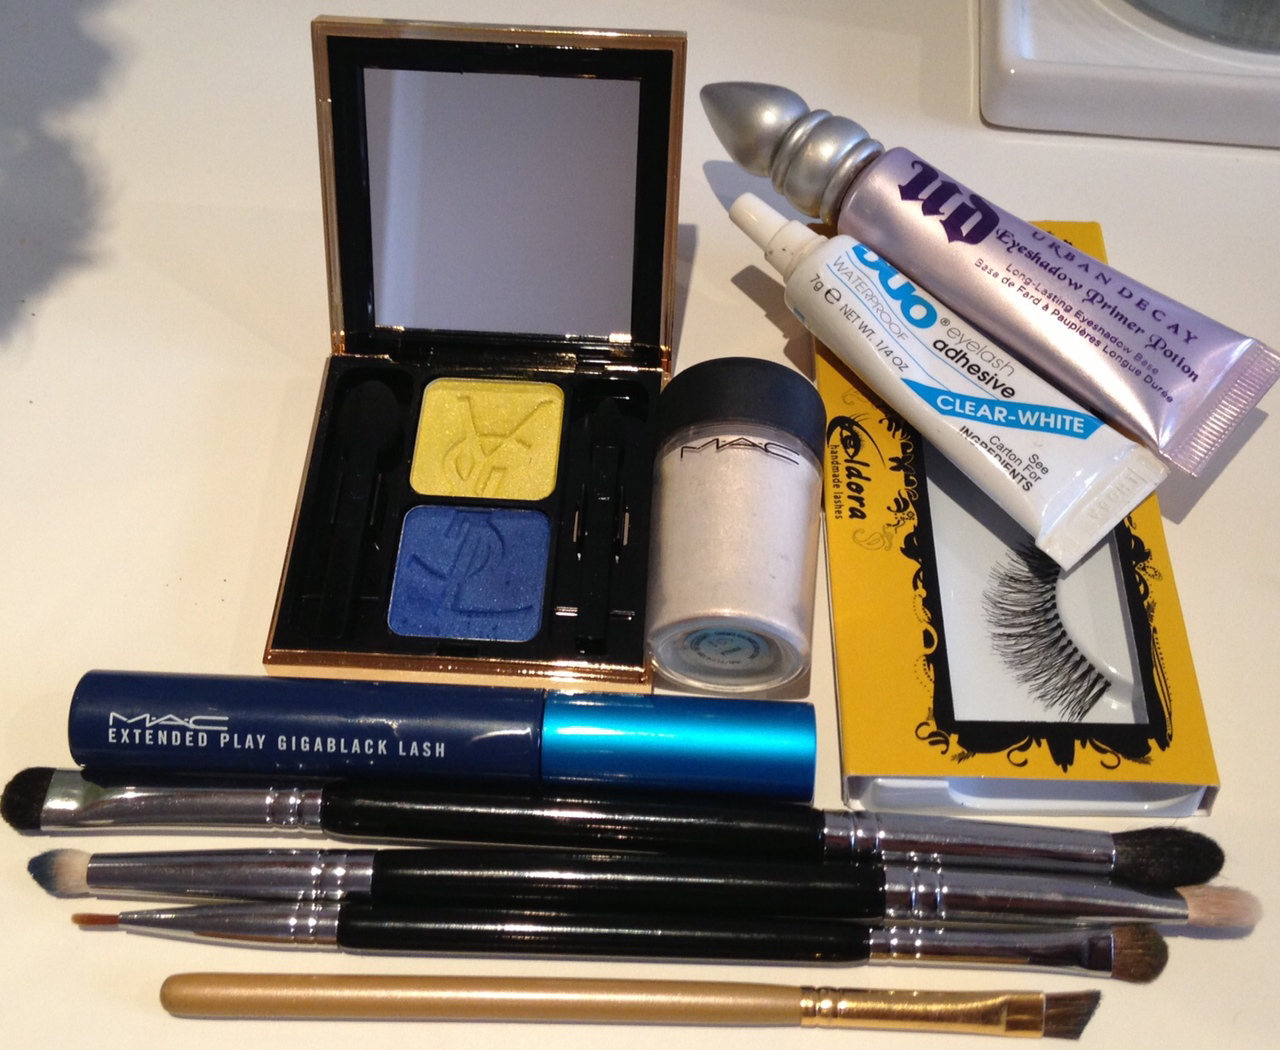
 When this little YSL eyeshadow duo reached me, I knew I had to create a look using both together. I love the brightness in this Ombre duolumieres in 37 – electric yellow and royal blue.
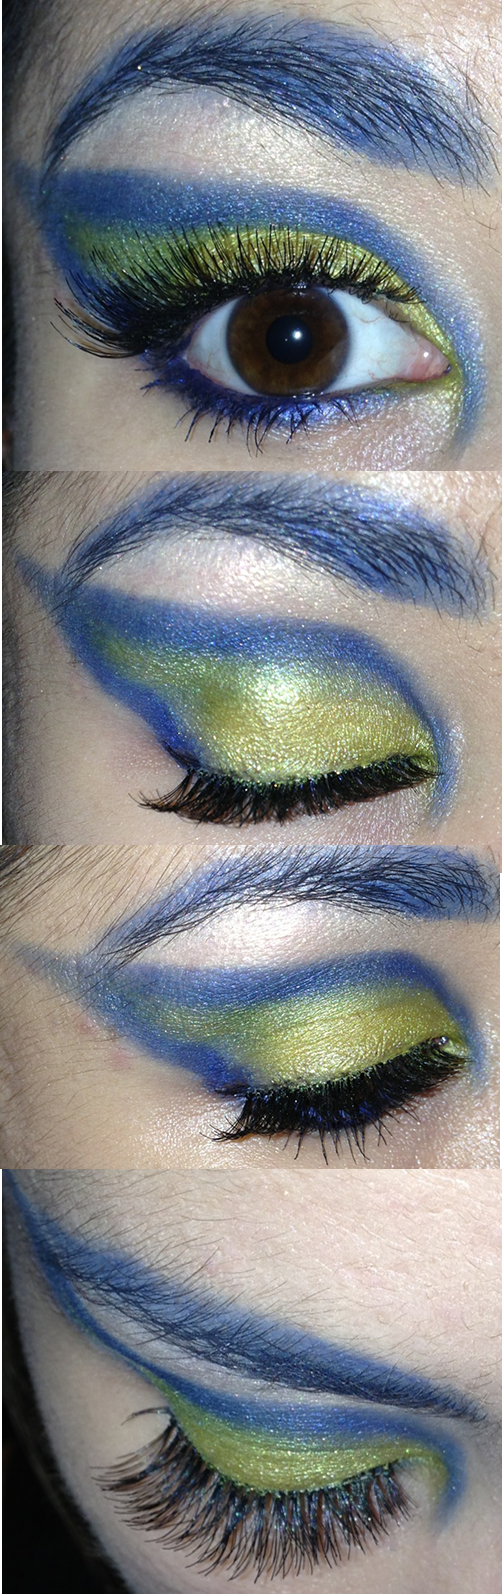 Have to say I did this pretty quick, about 10 minutes per eye, and here is how I did it: