 There was a time in my life I was all about the nail art. Not elaborate drawings, but details and ombrés were my favourites.
Fast forward and I am now all about the plain colours and when they come with a differential, I’m all for it.
Meet the essie leathers collection, created by their colour designer Rebecca Minkoff, and inspired by her best selling leather handbag colours.

There are six amazing shades and they come in two sets of minis: one with very autumnal, deep colours and one with winter bright pastels, all reworked.
 The finish is not glossy, but not totally matte, with a discreet metallic sheen. Some shades even have a slight texture that can barely be seen.
 My favourite has to be the super pale grey lilac Push The Envelope. It’s super versatile, so close to white with a silver glimmer but not harsh. And easy to apply. Love.
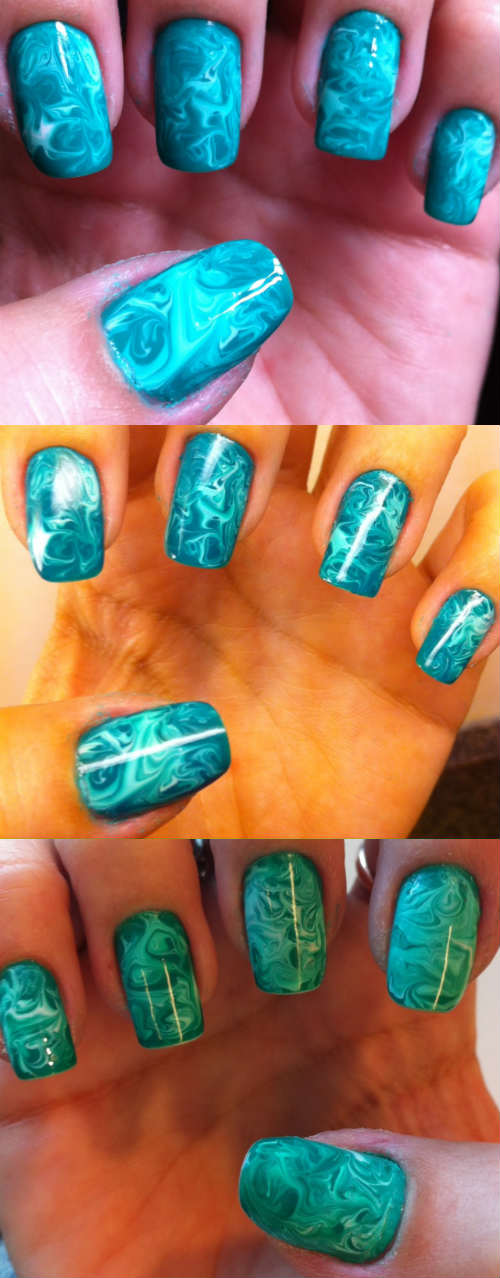
The greens are divine – be it minty turquoise Bucket List or viridian Back in the Saddle.
 Then there is the lavender shining mauve Cross-Body Heat, blood red Tote-ally In Love and indigo blue In Hot Purse-uit.
I used them without a topcoat (not to spoil the finish) and durability was way better than I expected – a week, no chips.
 You will all know how much I love essie nail polishes: the formula, the fabulous brush, the great colours, limited edition collections and even the quirky names, so no surprise I have used each polish for a whole week!
They are available only until the 24th October at Boots for £12.99 a set (3x5ml), so hurry if you fancy a bit of leathery love on your talons!


