My top beauty tips

Illustration - woman applying lipstickRegardless of being a woman obsessed with beauty and is always trying new things, or just sticking to everyday basics, we all have our tricks and tips to make things work for us.

I decided to share some of mine; they are simple tips; some I use all the time, others very rarely, and they are a mix of information I picked up from make up artists or found out myself through experimentation, online and other blogs.

  • When applying concealer/ highlighter under the eyes , also apply to inside socket, close to the inner corners of the eyes, on the sides of the nose bridge – it makes a big difference!
  • Extend you eyebrows length to match and imaginary line from the outer corner of your eyes. Also, fill eyebrows with a matte eyeshadow closer to its colour, brush the hairs upwards and apply good highlighter on brow bone – this will give you supermodel brows.
  • Stay clear from dry, flaky lips by using a toothbrush and Vaseline to gently scrub your lips. I recently discovered Lush’s lip scrub which is also great!
  • I don’t deliberately apply to my face, but when I do apply on my hair, I notice a little bit of hairspray will ultra fix make up. Urban Decay’s All Nighter make up fixing spray gives you a very similar effect and is skin friendly, for more frequent use.
  • I always apply fake tan spray mixed with moisturiser; the colour looks more natural and it won’t streak!
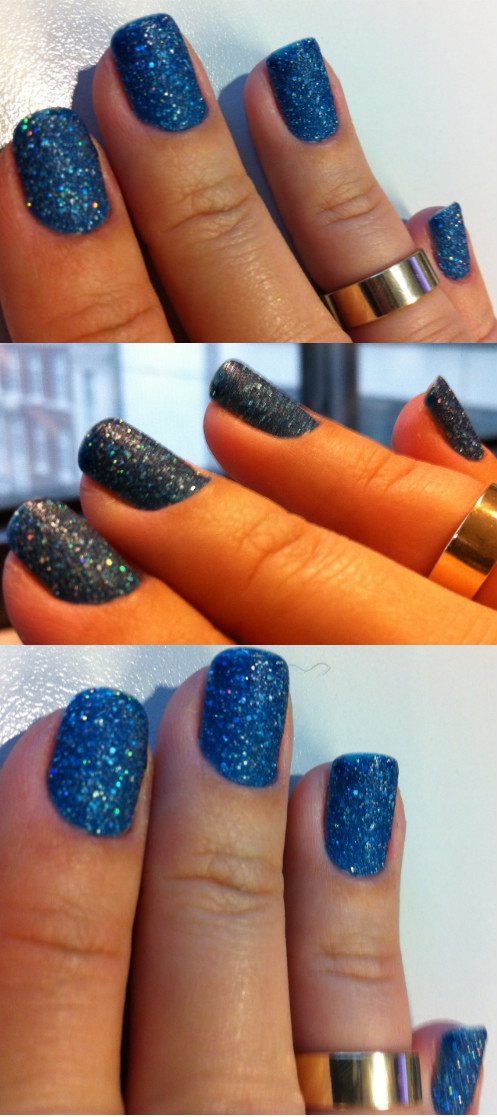
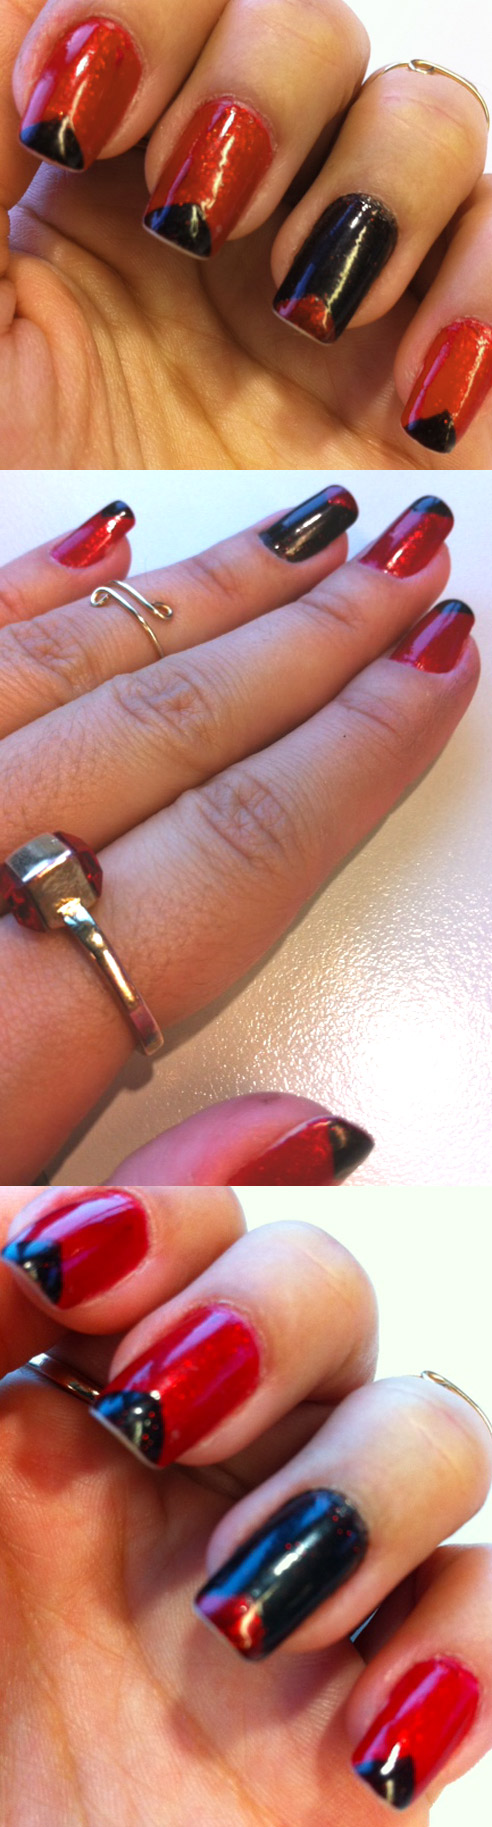
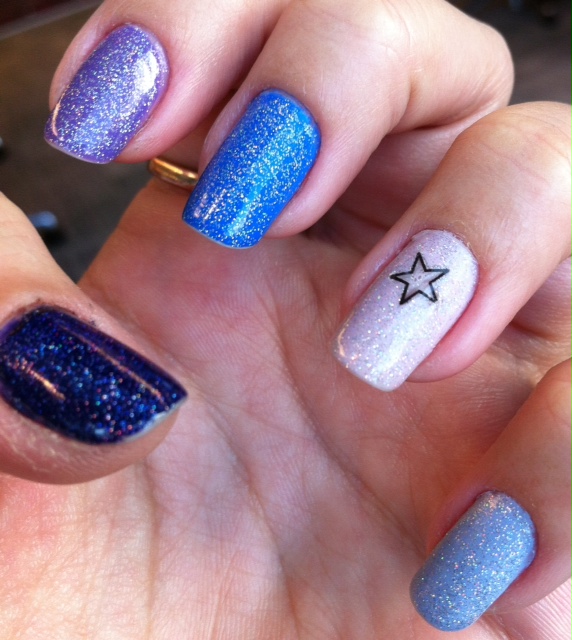
  • After painting my nails, I rub manicure sticks with cotton wool on the tip, dipped in nail polish remover, on the edge of my nail. This creates an imperceptible line with no polish, minimising the varnish impact on surfaces, thus making it last longer and chip less.
  • Ballerina buns are a saviour for bad hair days.
  • Dry shampoo – another saviour; especially when you have fine hair like mine, which I feel the need to wash everyday!
  • When wearing dark lipstick, I like to apply some face powder on the outer line of my lips, it gives them amazing definition, really making them pop!
  • Sometimes I mix my foundation with moisturiser for a lighter coverage.
  • Lacy thongs are great for tight dresses. Their lace band is stretchy and it doesn’t cut through skin, leaving no marks or even worse, muffin tops!
  • Use a cotton bud dipped in eye make up remover for super defined corners on smokey eyes. Just rub it across from the outer corner of the eye towards your temples on a 45 degree angle to clean up the excess and create a super defined line.

What about you? Any tips or ritual you swear by? Why not share here?

X

Nails of the week – colour shifting glitter flakes

glitter flakes nails - somanylovelythingsYet another glitter flakie, from Sephora this time. I keep buying them and they are ever so similar, but I cannot help it!!!

This is called Purple Jewel and I do regret not having applied over purple, to see how it would come out.

I applied over black and this polish is laden with flakes, really saturated. With two coats, I barely had any space without flakes on my nails.

The colour shifting is amazing, from green to yellow, orange and fiery red. Really pretty.

It is however, very similar to flakies I posted before, namely Ana Hickmann Glow and Specialittá Hits Cha Cha Cha, which cost me a fraction of the €5,90 of this one.

Still, I really like it, as I mentioned before, it is way more saturated in flakes that the two mentioned above and I think three coats would probably cover the whole nail, creating an almost metal effect. Maybe next time….

Durability was good, but it shrunk an awful lot when I applied the topcoat!

Rating:

4_star

Eye make-up look challenge: peacock eyes

blue, purple and green eye make - somanylovelythingsThere is no secret that white, red and black are my favourite colours, preferably together. However, the colour combination on a peacock really fascinates me. Actually, I would go as far as saying it mesmerises me. The greens, blues and purples, with the hint of gold and extreme shimmer is just too beautiful.

For that reason, I went for a peacock inspired look, topped with a super cute set of lashes called peacock in the outer corner of the eyes.

Here is how I did it:

After priming my eyes, with a shadow brush I swept the blue crushed pigment in the inner corner of my eye towards the middle. I then applied the purple colour and blended with the smoking from the middle towards the end. Finally, I added the green to the outer corner, also with the smoking brush creating a cat eye shape with the pencil brush and also to the crease, blending well towards the purple. I really saturated the colour, re-applying and blending again.

Then I applied, with a liner brush, the eyeshadows to the lower lash line, first blue, then purple and green, from the inner to the outer corner.

Last, I added the liquid liner in metallic purple, creating a flick at the inner and outer corners of the eyes, and adding four dots above the end.

I finished it off with a set of false lashes and then, on top of them, the extra pretty Paperself laser cut lashes in peacock, of course and a bit of highlighter and sparkle to the brow bone.

I really like this look. It took me a while to achieve it but it was well worth it.

Products I used:

  • myface.cosmetics blingtone eyeshadow in purple haze and crystalline green (they are amazing, the shimmer in them is superb!)
  • MAC crushed pigment in winter sky
  • MAC pigment in Vanilla
  • Kryolan glamour sparks in golden
  • Hourglass Film Noir mascara in onyx
  • Duo eyelash glue
  • myface.cosmetics liquid eyeliner in sugar plum
  • set of eye lashes I don’t know where I got from
  • Set of Paperself eyelashes in peacock design
  • MAC brushes 217, 219, 231 and 130

tools and products used to create peacock eyes by somanylovelythings

Difficulty

eye make up look  - hard

Product review: Hourglass Film Noir mascara

Hourglass film noir mascara

I bought the Film Noir full spectrum mascara in Onyx, from Hourglass, after getting a sample with an amazing load of products I got for free at Liberty after spending a certain amount of money on beauty.

It caught me in a time I was quite unhappy with the mascaras I had been using. Somehow my all time favourite Maybelline falsies wasn’t agreeing with my lashes and they seemed clumpy and messy. I bought a Dior mascara and that was horrible – clumpy to the max!

So I decided  to give this a go. After using the sample for a while, I noticed that this mascara gave good lashes separation, length and volume. I hadn’t heard of Hourglass before, and their prices are quite steep (£25 for the mascara) and that was the reason I didn’t buy straight away. What a fool, I could’ve been happier before!

Hourglass film noir mascara

The brush seems have twisted bristles in an hourglass shape. I really like that it doesn’t dry the lashes. If you need to re-apply later in the day, it is not that dry rubbing, that just seems to clump more and more, as the new coat cannot stick to the lashes. It applies softly, almost as if an extra coat when you applied for the first time.

Durability is great, in fact, it is very stubborn and although it is not waterproof, it needs an oil based eye make up remover to come off completely and easily. A normal one requires a couple goes at least.

hourgalss mascara on eye - somanylovelythings

This is what they say on their site:

“A sensational all-round mascara with dramatic, cinematic results: Film Noir volumizes, lengthens, separates, and conditions lashes all at once. The signature hourglass-shaped brush is designed for optimal application, while the intense concentration of Panthenol (ProVitamin B5) generates a reflective, jet-black sheen.

• Signature “pinwheel” bristles of the brush volumize, lengthen, separate and condition lashes for low-maintenance application with high-impact results
• Pro-vitamin B5 hydrates and conditions lashes to keep them supple and healthy-looking
• Added polymers help formula adhere to lashes and resist smudging and fading
• Triple-cut hourglass-shaped brush evenly distributes product to create volume while lifting and lengthening
• Free of phthalate, sulfates, synthetic dyes and gluten”

I really cannot disagree from their description, really. I am chuffed with the purchase. I returned to the brand counter at Liberty since buying this one to buy their Veil primer which is great – will review at some point!!! And they always give you samples! If you have a Regent Street Association card, you get 10% off at Liberty, including Hourglass!

Nails of the week: blue matte glitter

nails_opi_liquid_sand2You probably guessed, I am talking about OPI’s liquid sand. I got myself a set of minis to try them all!

The first one was the lovely blue “Get your number”. It is a lovely indigo blue glitter with some holographic glitter in it, so really laden with sparkle.

It applied ok, I missed the wide brush from the full size version… the little one is mega fiddle and the opening of the bottle tiny!!! It really needed three coats and I am not sure if this is because of the matte formula, but it took a long time to dry and it was a bit gloopy. It also took a while to go matte, which is not a problem – it kinda developed in my hands!

Durability was ok, as it is quite rough and it won’t take a topcoat, towards the 6th day it started to chip at the edge, more like glitter flakes coming off and leaving gaps.

Now… I quite like it. It is different. The texture gets to me a little bit. It is rough. Also, it is such a sparkling polish, amazing colours, holographic bits, but it all gets a muted somehow when it goes matte. I say glitter should ALWAYS sparkle, and although there was plenty of pretty shiny flecks,  that was lacking a little bit.

nails with opi liquid sand - somanylovelythings

Apologies for the rubbish pics, it was another week I was too busy and took just a few quick snaps!

Rating:

3_star

The white shoes

This season I was caught in a massive fashion dilemma – white stiletto shoes: yay or nay? White is one of my favourite colours. I know they are bravely back in. They are a great alternative to black shoes when rocking monochrome looks, they are great with pastels. But deep inside I have that feeling about it being an icon of everything bad with 80’s fashion. Plus, to me, it does have that fallen 80’s popstar vibe.

Depending on the material, they can look very tacky (God knows what I’ve seen being sold). The expression on my boyfriend’s face when I told him I had bought white shoes just became funnier after I answered yes to his question “but they are not stilettos, right?”.

I do remember, in the late 90’s/early 00’s, wearing white leather booties (which were really cute, with a metal heel and a Swarovsky crystal in it… erm, maybe not that cute) and every summer I wear white (usually cork) wedges. But a stiletto? Am I really going back to this fashion I was lucky to be young enough to escape? Well, the answer is definitely yes.

After falling in love with a KG number and deciding against them as they were made in China (Chinese shoes really, really hurt my feet. It is a deep pain bordering on desperation. I don’t know what the problem is, maybe it’s because I have slightly wider feet, I stopped buying them as they often don’t see more than one wear, or two, if I am feeling masochistic), I kept battling with myself for another while, and finally caved in about a month ago when I found these lovely River Island ones.20130314-140645.jpg

They don’t shine. The have that snake skin detail (white, nevertheless) that detracts a bit from the whiteness of it. And they are slightly off white, so they don’t “glow” in your feet (or at least I keep telling myself that). AND they are made in Brazil. I am supporting my country’s export industry. Right?

All excuses aside, I really like them. It is a lovely shape, pointy, love the heel line and they are made of leather, meaning they will be more comfy after a few wears.

So that’s it. I confessed. This is my spring/summer 2013 guilty pleasure and I am loving it. Don’t care if you think I am an 80’s throwback, after all, it was acceptable in the 80’s (but seriously, what wasn’t?).

What about you? Likely to sport white stilettos soon or won’t be seen dead in them?

Product review: Elemis Frangipani Monoi body oil

elemis frangipani monoi body oil

Ooooh, I absolutely LOVE a body oil, it keeps my skin soft in London’s crazy weather and hard water so I consider myself lucky to have received this GORGEOUS body oil from Elemis to keep my skin happy!

I have been using a few Elemis face products lately and my skin, which has been going through an awful patch, has been liking them. I also had an amazing facial and massage at their London Spa – bliss – so I have lots of good things to say about the brand.

To me, one word defines this Frangipani Monoi body oil: luxurious. It is made with Tahitian monoi (Monoï oil is an infused perfume-oil made from soaking the petals of Tahitian gardenias (best known as Tiaré flowers) in a semi-wax coconut oil) and infused with frangipani flowers (you know, those super fragrant tropical flowers with big oval petals that are white on the outer border and yellow-pinkish on the inside, that girls put on their hairs?).

It has this thing of being solid when cold, and you need to put the bottle into warm water for it to melt. I fill a container with water at the beginning of my shower and by the time I am finished, it is liquid, ready to be used.

If I have to point out a downfall, a very small one, is the top of the bottle. Looks very pretty, a little metal drop, but can be a bit fiddly in the shower – could easily go down the drain and because it is so dinky, it’s a  bit tricky to manipulate with oily hands. But this wouldn’t stop me from buying it.

The consistency is great and it gets absorbed quickly by the skin. There is no greasy feeling after application. A small amount goes a reasonable way. The smell is lovely – flowery, not too sweet, and not overpowering either. It lingers in the body afterwards but doesn’t interfere with your perfume, for example.

My skin felt soft and hydrated afterwards. Really, I will repeat – a luxurious product, try if you can. It is a 3 in 1 product so it can also be used in the hair and nails (which I have). What is not to love?

You can buy it here, full size retails at £31.50, Elemis also has travel sizes and other products in the range made with the same ingredients.

This post contains PR samples, however, this review is based on my own true experience with the products and reflects my honest opinion on them.


Nails of the week: red and black

Red and black nailsIt is no secret that I LOVE red and black, so I decided to, yet again, use that on my nails.

I used two coats of the red OPI The spy who loved me, reviewed here in the past, and two coats of Brazilian brand Risqué’s Viúva Negra (black widow), a lovely black jelly base with fine red glitter and went for a chevron design, alternating the colour on my ring finger to create an accent nail.

Application was great for the OPI and ok for the Risqué one – it is quite sheer, so it was hard to make the chevrons in one coat, had to use two, which made them a little blobby. I used normal sticky tape for the chevrons, like last time, with black and gold. Durability was good, 6 days, and then a chip.

Overall, I was pleased with the mani; it was slightly untidy, the chevrons could’ve been sharper – and so could my pictures – apologies, as the last month was crazy and I forgot to photograph properly!

Rating:

4_star

Still alive

Right.. so it has been 10 days since I posted. I am alive. Barely. The last month was really maniac for me: work has been quite busy, I moved homes, been away for a few days and submitted an essay for the second module of my post grad course. I feel exhausted, but glad it’s kinda over.

I just wanted to apologise for being totally MIA and to say I am coming back to the normal blogging rate soon. Hopefully when I am in Brazil too (yeah, going soon – sun, here I come!)

Also, feeling a bit down about my nails. All the manual work of packing and box/furniture shifting has taken its toll on my talons. One horrendous breakage, 3 bad ones, a few splits. not happy. They are now ridiculously shorter and I was so busy I went a week without a manicure. May the nail gods forgive me. All averted now, and my tiny nails are at least manicured. Will be posting soon.

Have so many posts in the back burner, can’t wait to get them all out! 🙂

xxx


Nails of the week – blues and purples

blues and purples nails - somanylovelythings It had been quite sometime since I painted each nail one different colour, and I was certainly in the mood for this week.

I decided to go for blues and purples – I love purples on my nails, and one of the blues I used is one of my favourite nail colours ever!

I used Nails Inc Oxford (light blue), Nails Inc Cambridge (light lilac), Kiko 336 (royal blue), H&M Pale violet (purple) and Nails Inc Belgrave Place (darkest blue) and added the super pretty Nails Inc topcoat Electric Lane (another obsession of mine – so versatile and so pretty, a great investment , finishing it off with a cute star nail tattoo!

Really love the look! Application was smooth and easy, and durability is ace – 8 days, no chips.

blues and purples nails - somanylovelythings

Rating:

4_star